HOW TO START YOUR ONLINE STORE IN 2024: A BEGINNER'S GUIDE
TABLE OF CONTENTS
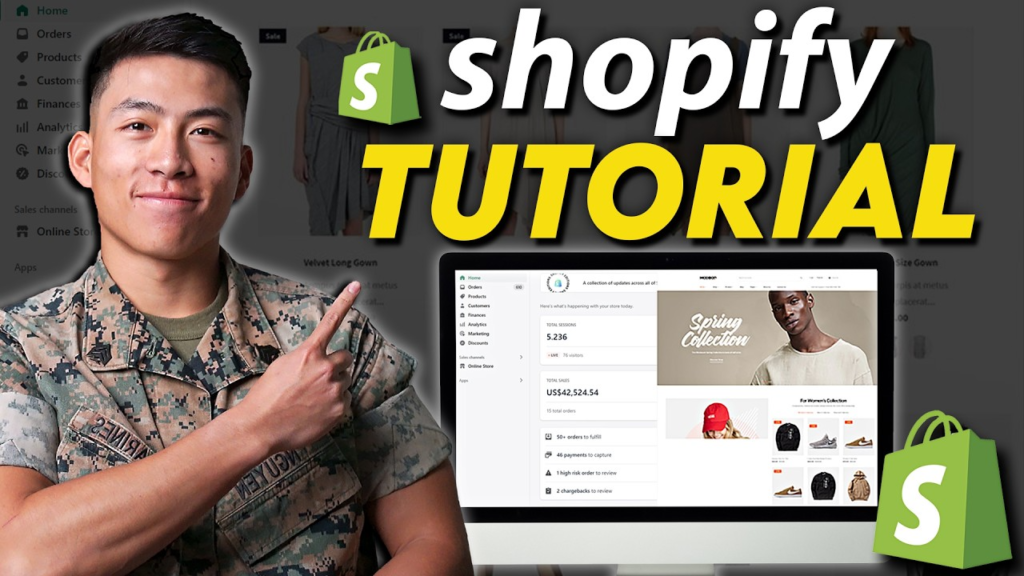
If you’re in the military and thinking about starting an online store but don’t know where to begin, you’re in the right place! Building an online store might sound complicated, but with the right tools and guidance, it’s easier than you think. In this guide, we’ll walk you through the steps to create your first online store using Shopify, one of the most popular platforms for e-commerce. Let’s get started!
I also have a free online course on how to get started with E-Commerce for military members using Shopify! Click the button below to enroll now!
STEP 1: SIGN UP FOR SHOPIFY
The first thing you’ll need to do is sign up for Shopify. It’s super easy! Just click on the link below to get started. You’ll get an exclusive deal: a free 3-day trial, and after that, your first month is only $1. That’s a great way to save money while you’re getting started.
To sign up, all you need to do is enter your email address and click “Start Free Trial.” No credit card is required at this stage. After answering a few simple questions, you’ll be ready to log into your Shopify dashboard.
STEP 2: CHOOSE A THEME FOR YOUR STORE
Once you’re logged in, the first thing you’ll want to do is pick a theme for your store. A theme is like the design template for your website. Shopify offers both free and paid themes, so you can choose one that fits your style and budget.
For this guide, we’ll stick with the free “Dawn” theme. To customize your theme, click on “Online Store” in your dashboard, then click “Customize.” This will take you to the editor where you can make changes to your site.
STEP 3: CUSTOMIZE YOUR WEBSITE
In the customization page, you’ll see different sections of your website, like the header, banner image, and product listings. Editing is simple:
Change the Banner Image: Click on the banner, then upload a new image from your computer.
Edit Text: Click on any text box to change the words.
Add or Remove Sections: Use the left-hand menu to add new sections or remove ones you don’t need.
You can also customize your logo, colors, and fonts in the theme settings. Play around with these options to make your store look unique!
STEP 4: ADD PRODUCTS TO YOUR STORE
Now it’s time to add products. Go to the “Products” section in your dashboard and click “Add Product.” Here, you can enter details like the product name, description, price, and images.
If you’re not sure what to write in the description, Shopify has an AI tool that can help. Just enter some keywords, and it will generate text for you. Once you’re done, click “Save,” and your product will be added to your store.
STEP 5: CREATE COLLECTIONS
Collections are groups of similar products, like “Shirts” or “Hats.” To create a collection, go to the “Collections” section and click “Create Collection.” Add your products to the right collections to make it easier for customers to find what they’re looking for.
STEP 6: SET UP YOUR NAVIGATION MENU
Your navigation menu is what helps customers move around your site. To edit it, go to “Navigation” in your dashboard. You can add links to your collections, like “Hats” or “Shirts,” so customers can easily browse your products.
STEP 7: FILL OUT YOUR STORE SETTINGS
Before launching your store, make sure to fill out all the important settings:
Policies: Add a return policy, privacy policy, and terms of service. Shopify provides templates to make this easy.
Payments: Set up Shopify Payments to accept credit cards. You can also add PayPal for more payment options.
Shipping and Taxes: Set your shipping rates and tax rules based on where you’re selling.
Domain: Buy a custom domain (like YourStoreName.com) to make your store look professional.
STEP 8: PUBLISH YOUR STORE
Once everything is set up, it’s time to publish your store! By default, your store will be password-protected. To remove the password, choose a Shopify plan. The Basic Plan is perfect for beginners and costs only $1 for the first month, then $39 a month after that.
After selecting your plan and entering your payment details, your store will be live and ready for customers!
FINAL THOUGHTS
Starting an online store doesn’t have to be overwhelming. With Shopify, you can create a professional-looking store in just a few steps. Whether you’re selling hats, shirts, or anything else, this guide has everything you need to get started.
If you found this guide helpful, let us know in the comments! And don’t forget to use the link below to sign up for Shopify and get your first month for just $1.
Good luck with your online store, and thank you for your service!
This article is written for beginners and military members looking to start their e-commerce journey. For more tips and tutorials, check out our free course designed specifically for veterans and active-duty service members.

© 2024 Joey Nguyen
All Rights Reserved
TERMS AND CONDITIONS
PRIVACY POLICY
ADVERTISER DISCLOSURE:
Joey Nguyen has partnered with CardRatings for our coverage of credit card products. Joey Nguyen and CardRatings may receive a commission from card issuers.
EDITORIAL DISCLOSURE:
Opinions, reviews, analyses & recommendations are the author’s alone, and have not been reviewed, endorsed or approved by any of these entities.